Shopify Flow
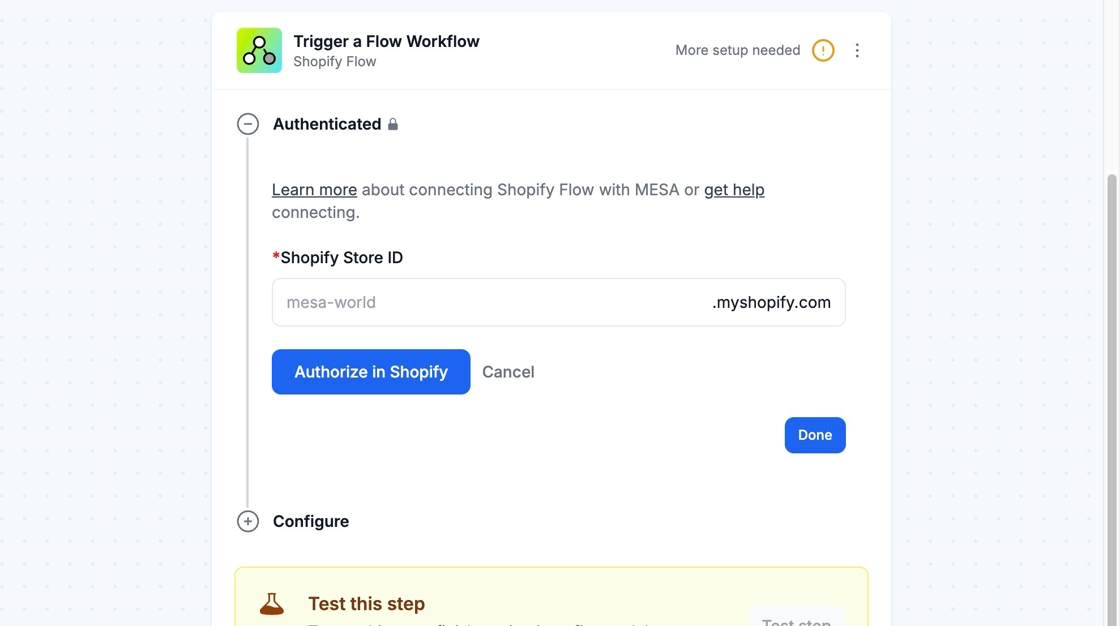
Authorize Shopify Flow with your Store ID and start MESA workflows from Flow, which can send customer, order and product data.
Connection
Section titled “Connection”If you don’t already have a Shopify Flow connection created, enter your Shopify Store ID and click Authorize in Shopify.
Configure
Section titled “Configure”
Start a MESA Workflow From Shopify Flow
Section titled “Start a MESA Workflow From Shopify Flow”MESA can receive Customer, Order, and Product data from Shopify Flow.
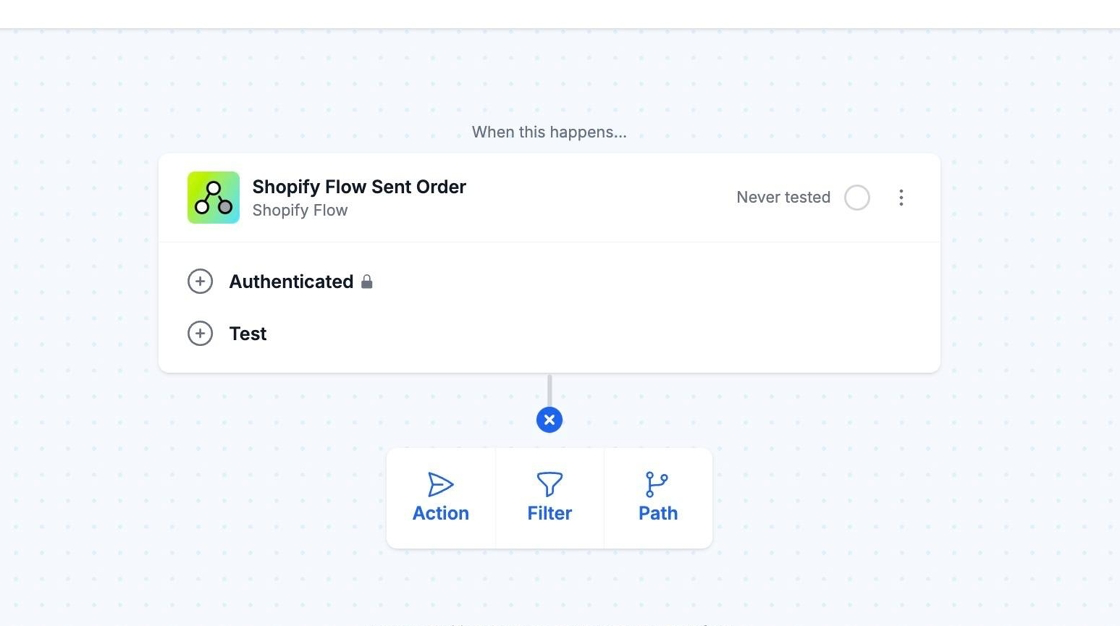
1. In MESA, create a new workflow using a Shopify Flow trigger.
2. In Shopify Flow, create a workflow with the Add action button. Then, select the corresponding MESA action from Step 1.
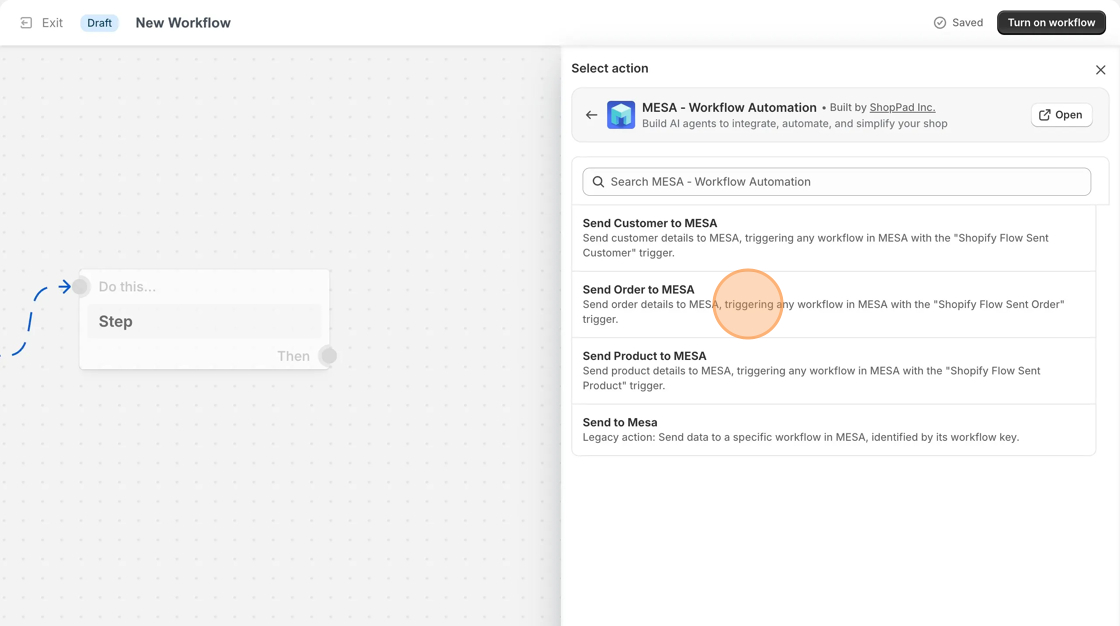
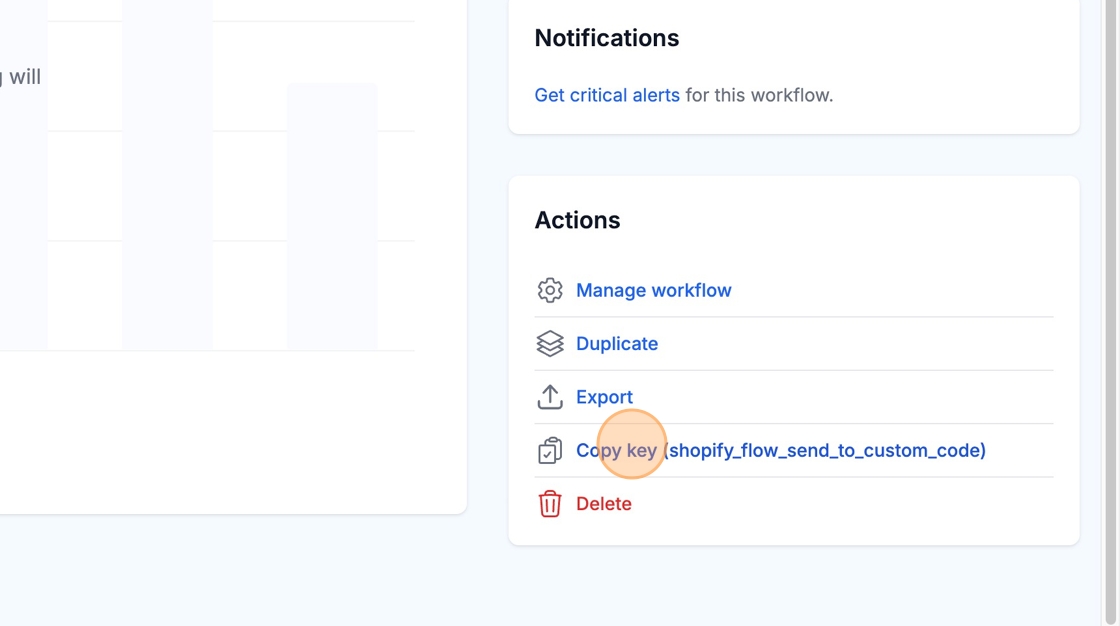
If you select the Send to Mesa action in Shopify Flow, you can copy the Workflow Key from your MESA workflow’s Dashboard tab.
Start a Shopify Flow Workflow From MESA
Section titled “Start a Shopify Flow Workflow From MESA”1. Add a Shopify Flow action in MESA.
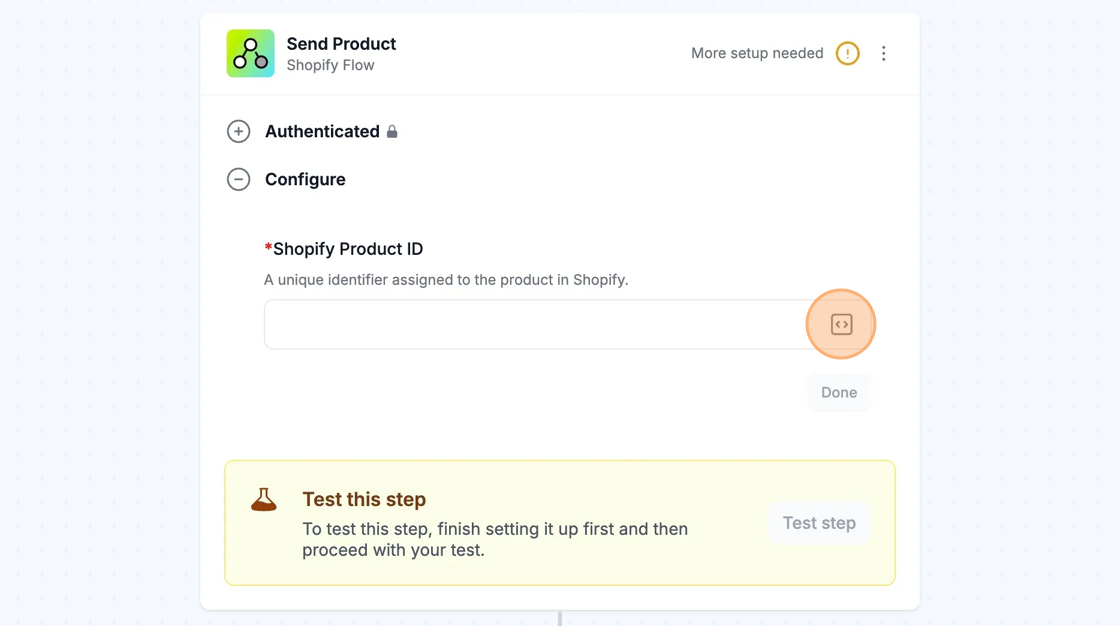
2. Complete any required fields referencing an ID. In most cases, you want to use MESA’s Variables feature and locate the variable that represents the entity’s ID (e.g. Product ID, Customer ID, Order ID).
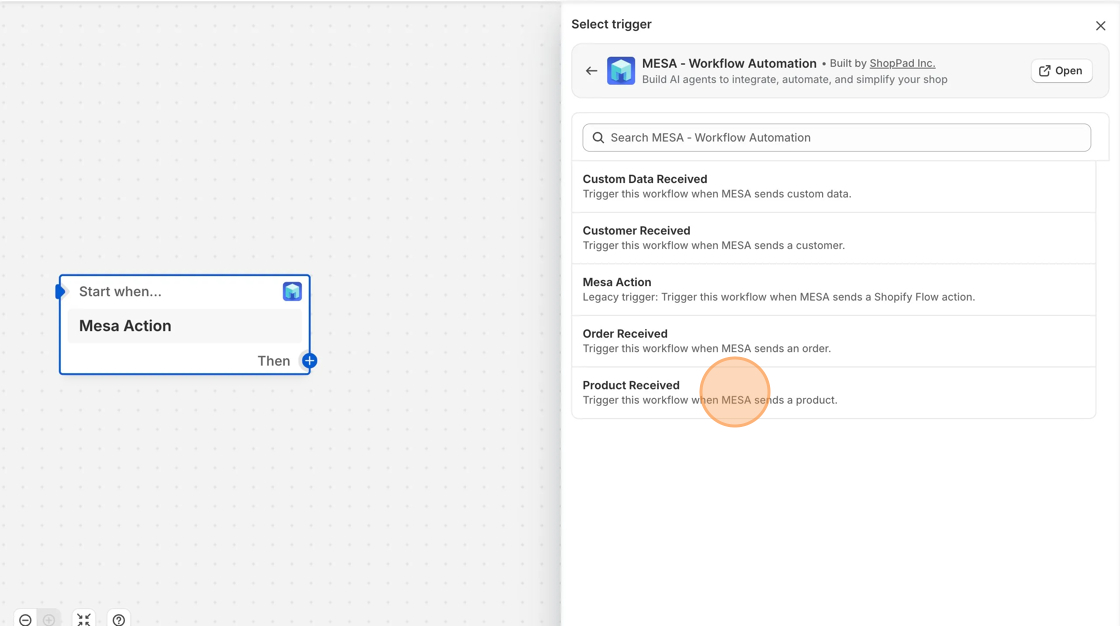
3. Create a new workflow in Shopify Flow.
4. Within Shopify Flow’s “Start When” block, select a MESA Action.
Technical Notes
Section titled “Technical Notes”Send Custom Data to Shopify Flow step
Section titled “Send Custom Data to Shopify Flow step”Use this step to send unstructured or custom data to your Shopify Flow. This will allow you to define a key-value pair array (similar to the Line Items properties), and you can read this in your Shopify Flow.
For example, we want to send a Shopify Order’s Name and ID to our Flow. We can set this up by doing the following.
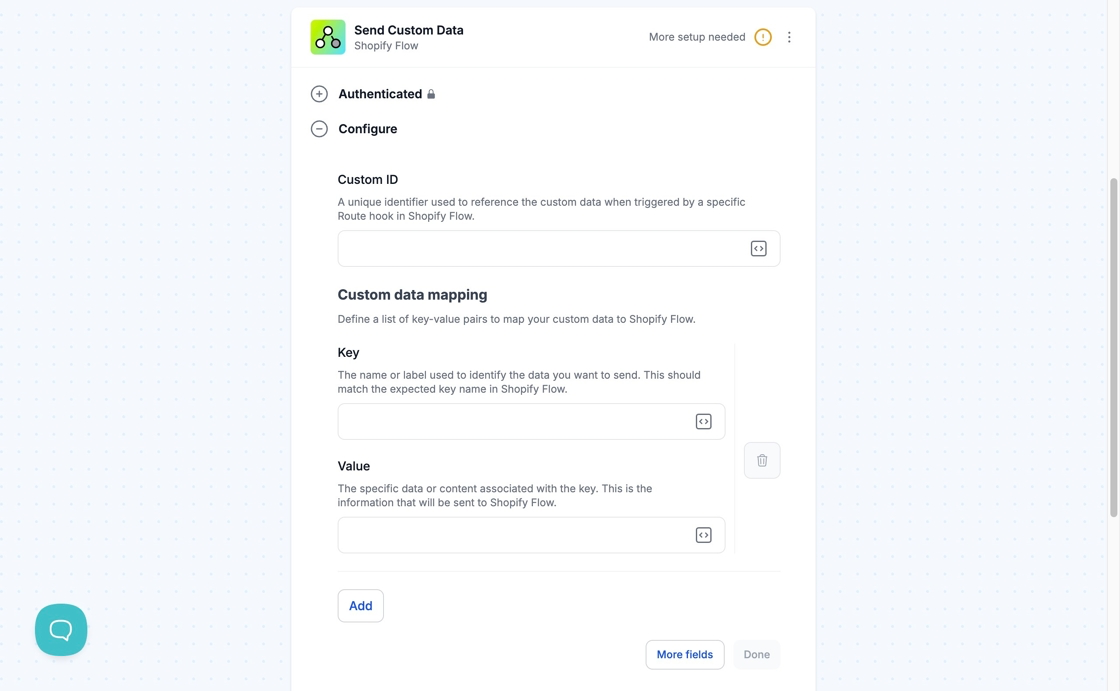
In Shopify Flow, we can reference the data as {{ custom_data.data[0].value }} and this will represent the Order’s Name.
Send Custom Data from Shopify Flow to MESA
Section titled “Send Custom Data from Shopify Flow to MESA”To send custom data from Shopify Flow to MESA, create a workflow in Shopify Flow with a Send to Mesa action.
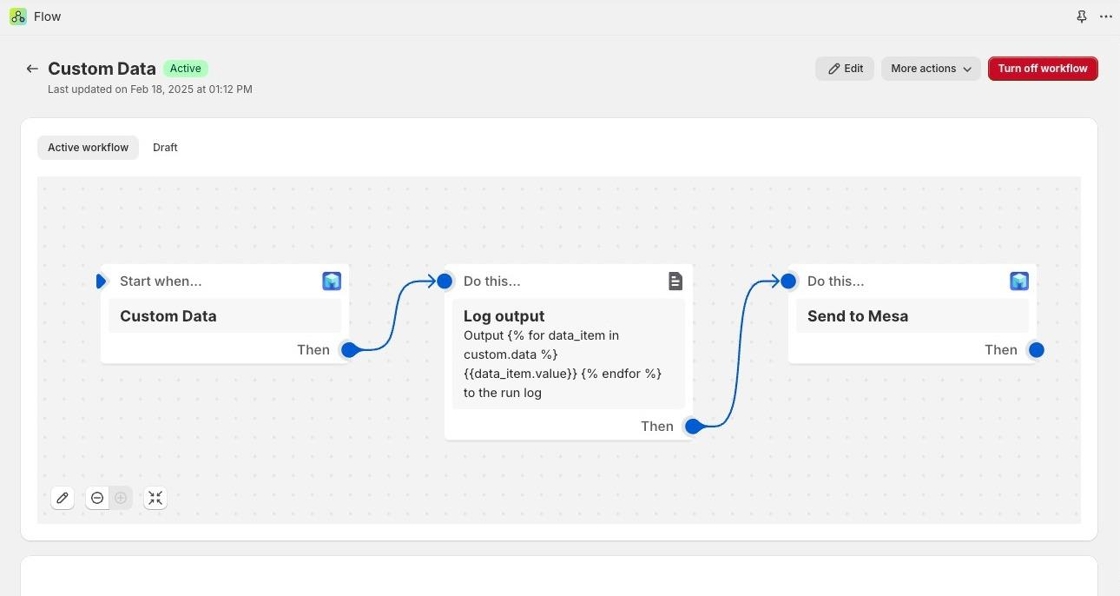
Next, open the Send to Mesa action, enter the desired key, then select Add a variable to see the available data.
For example, this Send to Mesa action will send the contact email from Shopify Flow to MESA.
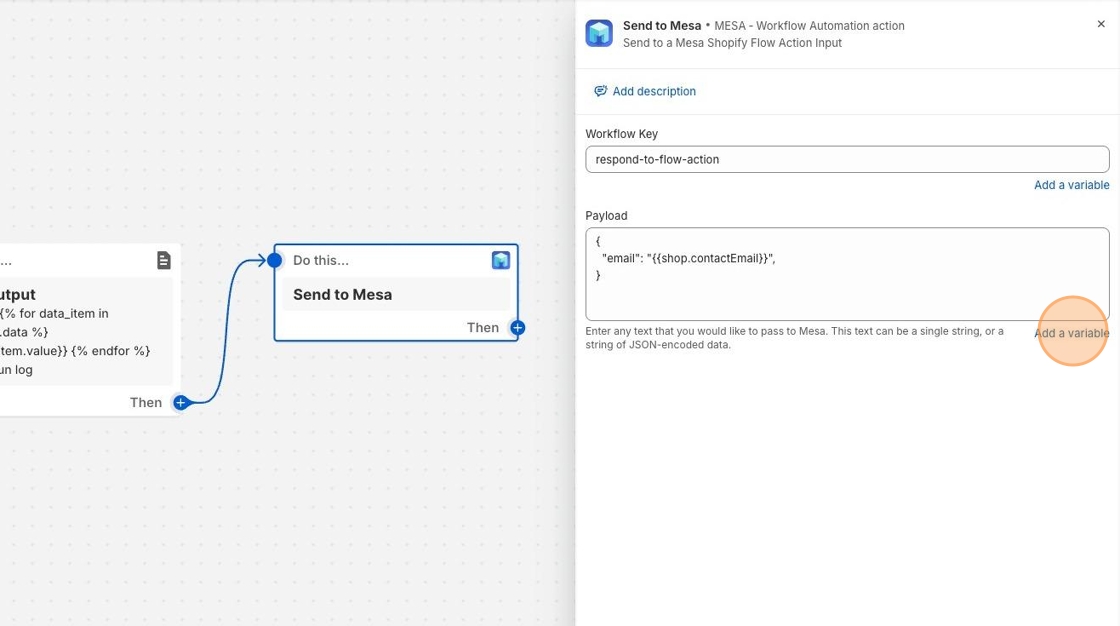
Your payload should follow a similar structure to the one shown above.
How to use Data from Shopify Flow
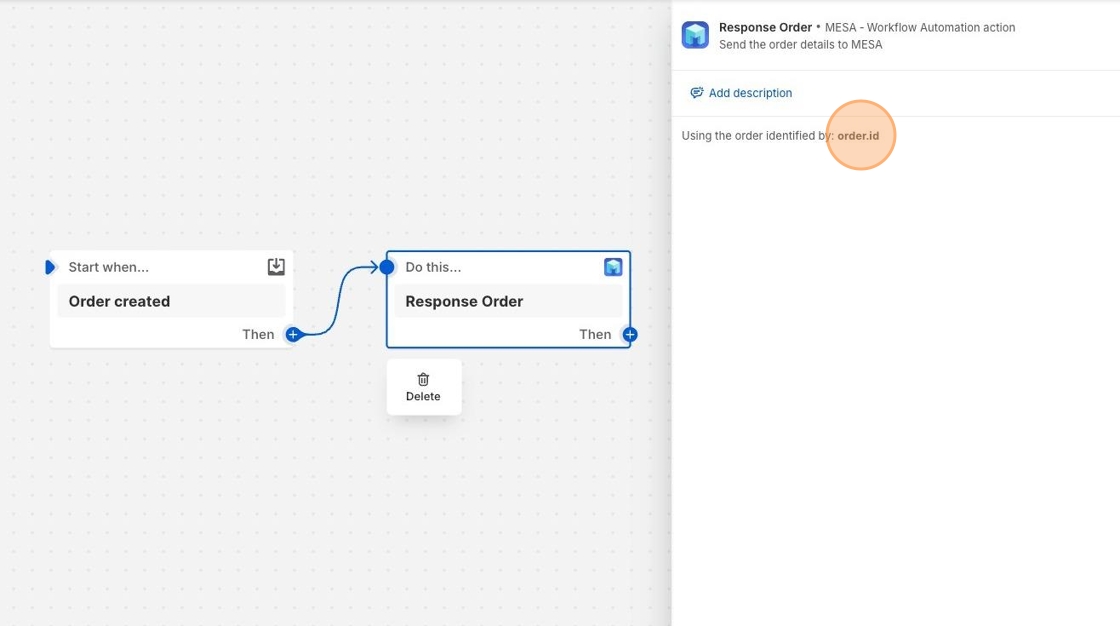
Section titled “How to use Data from Shopify Flow”When sending Orders, Customers, and Products from Shopify Flow, there must be a previous step to designate the object’s ID.
This Shopify Flow workflow will send the Order ID to MESA when an order is created.